This article is part of a professional series on the process of creating 3D medical models, from the scan stage to a production-ready model. Each part dives into a different stage of the process and the points that are critical for accuracy, reliability, and saving time and cost.
Part 1: How scan quality determines your 3D medical model.
What is segmentation and why is it critical?
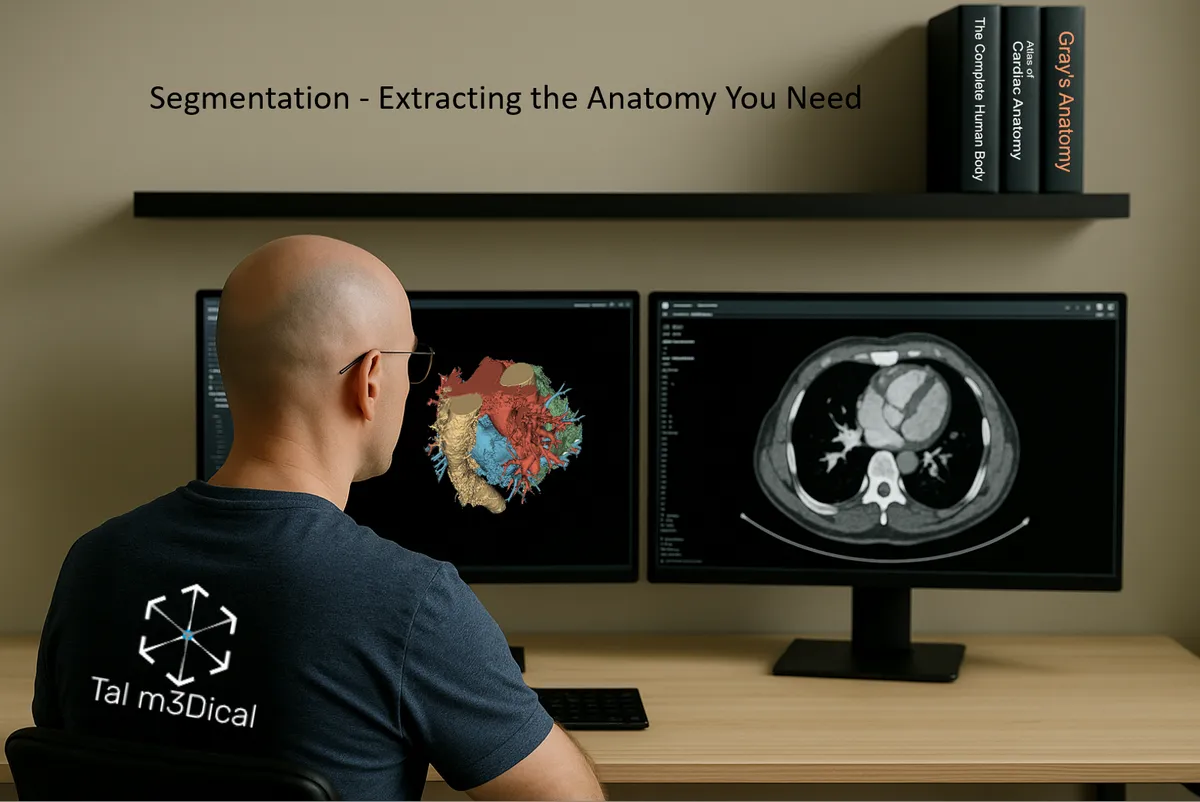
Segmentation is the stage where we separate only the relevant anatomy from the scan: organs, bones, blood vessels, tumors, or any structure we want to turn into a 3D model.
The goal: isolate the important information and ignore everything else, so that the final model is accurate, clean, and ready for clinical, educational, or research use.
Not all 3D views are the same: volume render vs segmentation
When you look at a CT scan, it appears in 2D, black, white, and shades of gray. Modern software allows us to turn these slices into 3D views. But not all 3D views are the same. We can generally divide them into two main approaches:
- Volume render: a direct visualization of all voxels from the scan. It's fast, visually impressive, and gives an overall sense of the anatomy. But it's highly dependent on scan quality, and small details can easily be lost or blurred.
- Segmentation: separating specific organs and structures from the data, either manually or semi-automatically. The result is clean, precise geometry you can measure, design with, simulate, or even 3D print. It turns the model into a true working tool.
Segmentation is more than just a visual upgrade. It's a step towards image understanding: being able to manipulate transparency, calculate volumes, and create a clear anatomical map for surgical planning and intra-operative navigation.
In short: volume render is a quick, beautiful visualization. Segmentation is reliable data for real medical decisions and physical models.
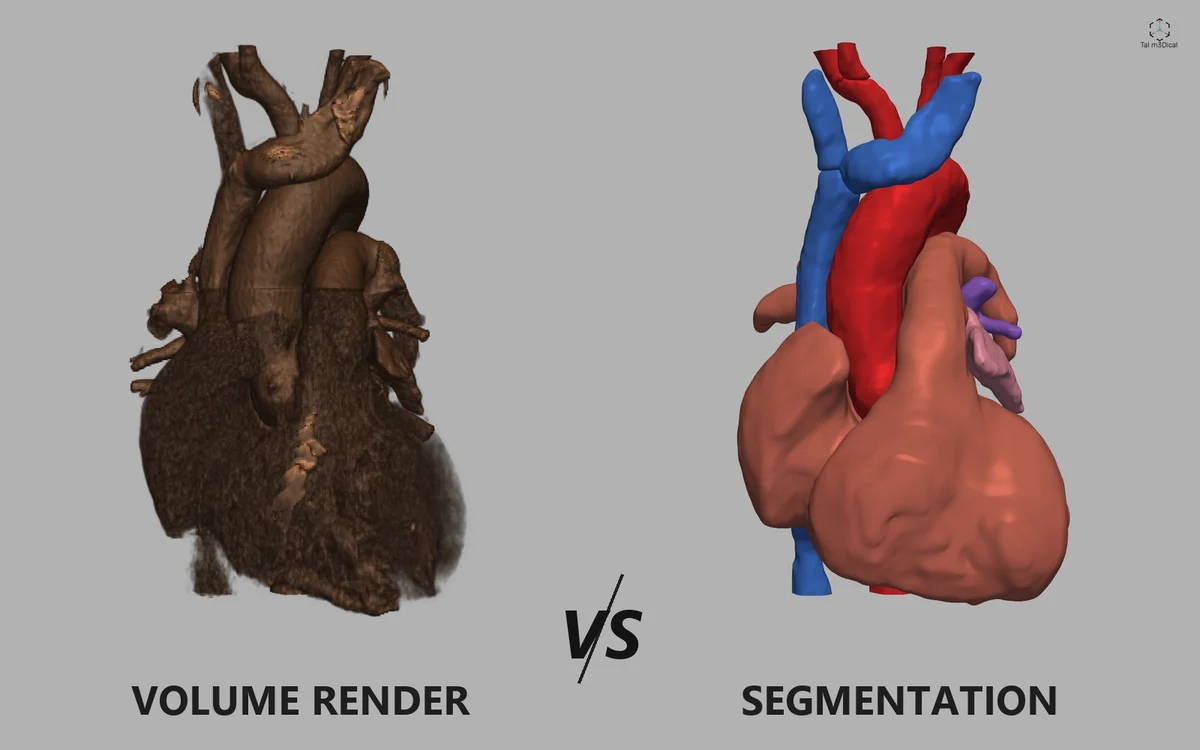
Image: volume render and segmentation of the same heart, from an open CT dataset (AortaSeg-60, CC0).
Three main segmentation methods
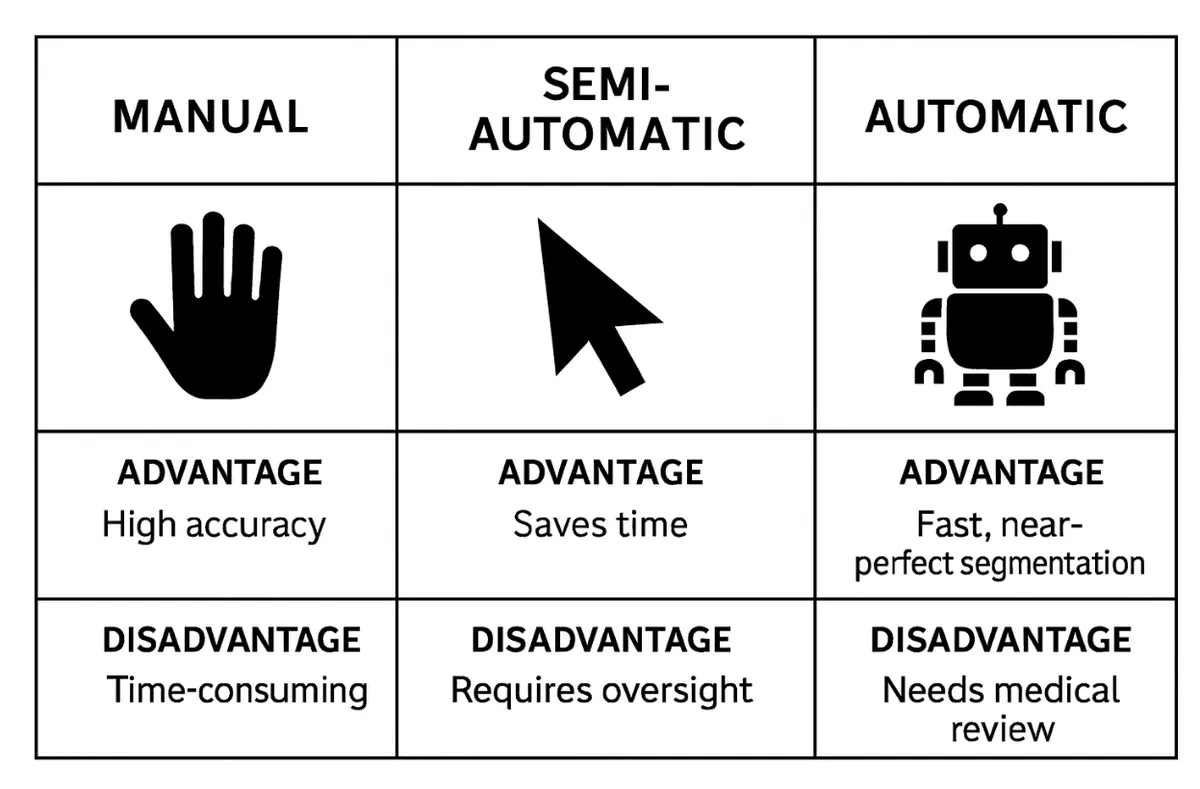
- Manual: marking the anatomy by hand, slice by slice. Advantage: high accuracy in complex cases. Disadvantage: a very slow process that depends on a high level of skill.
- Semi-automatic: the software identifies regions by thresholds, and the user approves or corrects. Advantage: saves time. Disadvantage: requires constant human oversight.
- Automatic / AI-based: the software segments the structures almost completely, but still requires medical supervision to verify accuracy.
Important: when the model is for clinical use (surgical planning, a procedure, or medical research), the segmentation must be approved by the treating physician or a radiologist who knows the case. Even if the segmentation was done by an engineer or a technician, responsibility for interpreting the imaging and for clinical decisions is medical only.
As the comparison shows, semi-automatic and automatic segmentation save time but require medical review to verify accuracy. In complex projects it is common to combine methods, for example using automatic tools such as thresholds for an initial detection of the anatomy, followed by targeted manual correction. A combination like this finds the balance between speed and accuracy.
In the follow-up guide I show, step by step, how to perform semi-automatic segmentation in 3D Slicer, including importing a DICOM scan, finding suitable threshold values, cleaning the model, and exporting to a 3D file for editing or printing. It also covers the TotalSegmentator extension, which enables fully automatic segmentation at the click of a button, with output of dozens of organs and regions of interest. Despite the impressive speed, human adjustment and review are still required before clinical use: Basic Segmentation in 3D Slicer.
How does the scan tell what tissue is what?
CT: segmentation by density (HU)
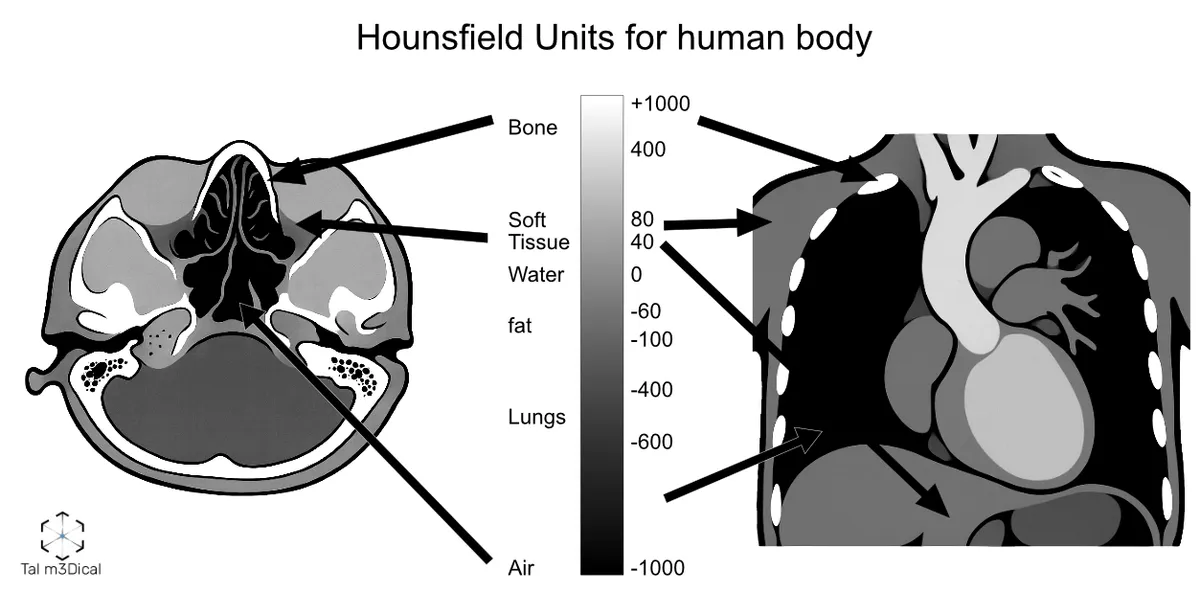
In CT, every pixel gets an HU (Hounsfield Unit) value that represents the density of the tissue relative to water. These values are translated into shades of gray:
- Air: about -1000
- Water: about 0
- Bone: about +700 and above
- Soft tissue / fat: between these values
This differentiation allows a clear separation between tissues and the production of accurate models.
MRI: segmentation by magnetic contrast
MRI is not based on HU but on signal intensity, depending on the type of sequence:
- T1 weighted: fat bright, fluids dark
- T2 weighted: fluids bright
- FLAIR / STIR / DWI: highlight different details according to the clinical goal
Segmentation from MRI requires an understanding of the sequences and contrasts to avoid mistakes.
DICOM: the basis of everything
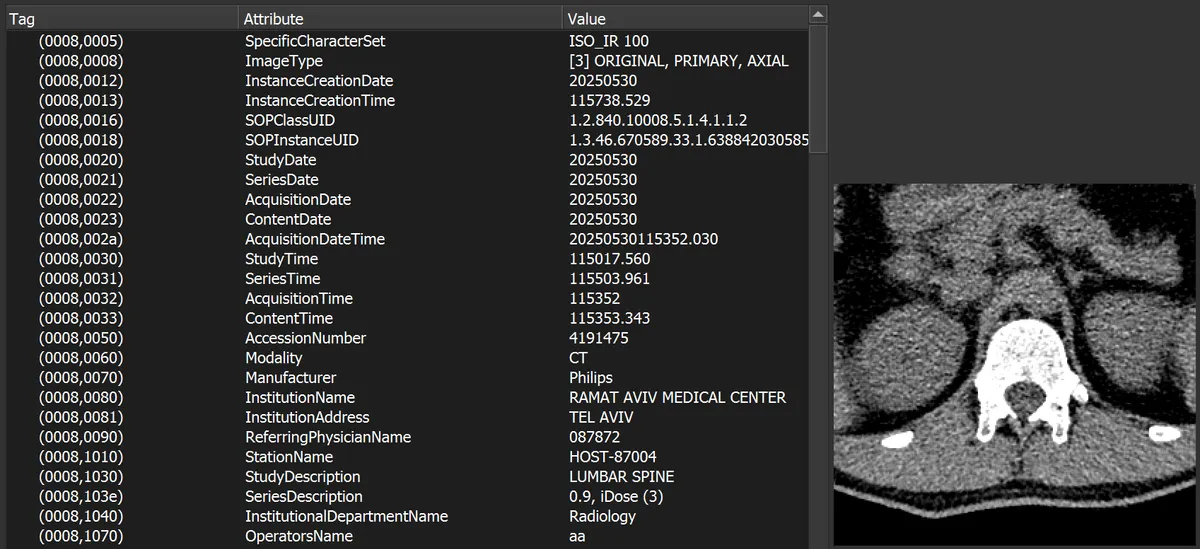
Every CT or MRI scan is saved in DICOM format: a rich file that contains the scan slices, technical details, and sometimes also identifying information about the patient.
Important: before passing a file to a third party, it must be anonymized, deleting personal details and protecting patient privacy in accordance with regulations.
Segmentation tools I recommend from my day-to-day work
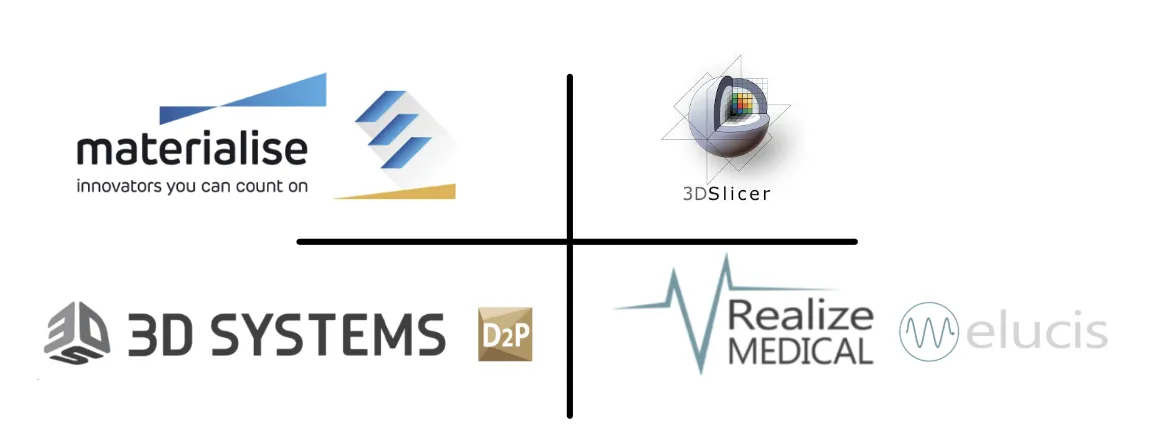
- Materialise Mimics: an accurate, regulatory-cleared industry standard.
- 3D Slicer: open source and flexible, with an active community and many extensions.
- D2P (DICOM to Print by 3D Systems): physician-friendly, producing a model in a few clicks.
- Elucis (by Realize Medical): interactive 3D segmentation in an XR environment.
Note the difference: viewing software such as RadiAnt or Mimics Viewer cannot produce a model for printing. They are meant for viewing and measurements only.
A closing tip from the field
Before starting segmentation, sit down with the surgeon or the medical engineer and define together what is critical to see in the model. The right coordination saves hours of work and prevents critical mistakes.
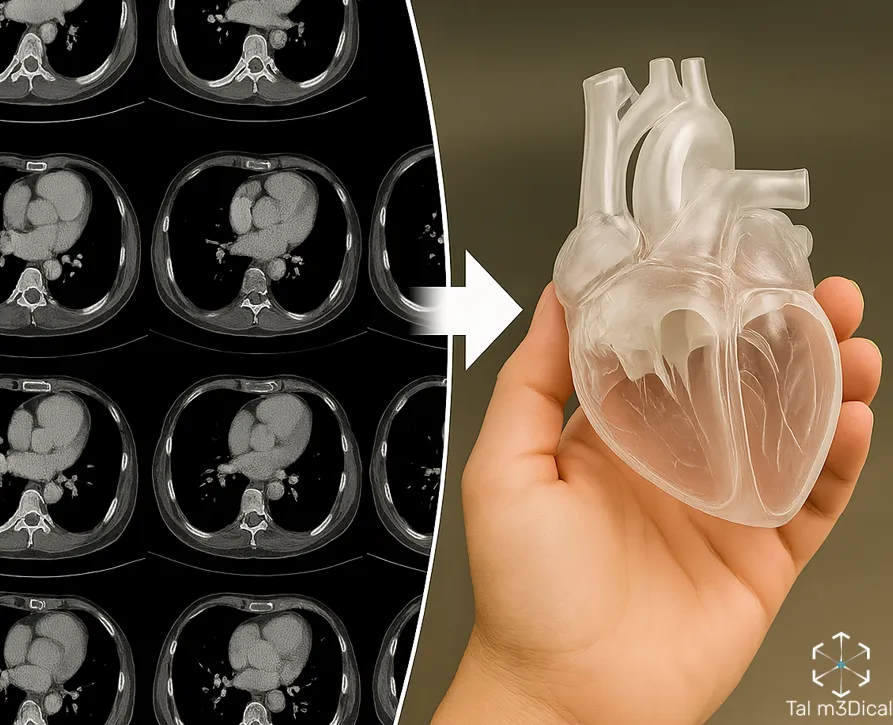
Next in the series: building the model, how you clean, repair, close holes and prepare the file for production.